Submetering - Changing the Lots listed on a meter
This article will assist you to change the Lots listed to receive an invoice on a power or water usage meter.
It will be necessary to create a new meter with a different Lot composition. This can be necessary when a Lot is subdivided or some Lots on the Entitlement are simply not charged for water or power.
It is not possible to simply delete Lots once the meter is linked to payments and receipts, as this would be removing essential linked data.
Any Lots remaining on a meter list will be charged a portion of supply and Administration fee, even if you do not want them to be charged.
As with any adjustments or edits, extreme care is recommended to ensure the correct Owners Corporation/Strata Plan and correct meter is edited
It is recommended all instructions are read thoroughly prior to actioning.
The Previous Meter
- It may be that you no longer need the old meter record and would prefer it not be used at all as it is outdated.
- Select Corp from your toolbar
- Enter the relevant Strata Plan number and select the submetering icon

- Select the Master meter number that matches your invoices. Check that the 'service' details match the type of service, that is usually water or power.
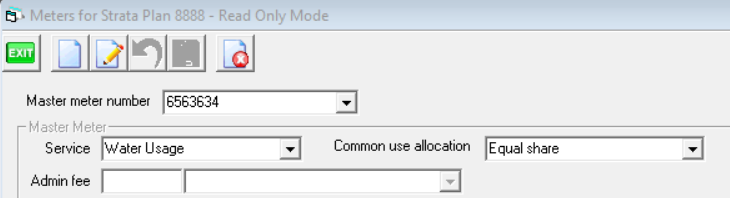
- Click the edit button and change the master meter number to something that indicates it is not to be used. You can enter DO NOT USE for example.
- Click save and close out of that meter.


The new Meter
- In the Corp screen, select the submetering icon as in steps 2 and 3 above.
- Click the add button and enter details for the meter - number, service type, common use allocation (how the common use is to be divided between the Lots), and stop there for now. You will be able to remove Lots from the list that shows provided you do not add information that will link this meter.
- Determine the first lot you wish to remove. Double click in the Lot field, where the number is, and backspace to remove the Lot number.
- Continue this for every Lot your wish to remove from this meter.
- Click Save only when you are happy that all Lots to be removed from the list have been removed.
- Close and reopen the meter. You will see it is now only showing the Lots you did not remove in steps 3 and 4.
- You can now add other information such as last reading details.
- If you have made an error, you can delete the meter at this stage and start again, as there are no linked transactions.