fileSMART Workstation Installation Instructions
Overview
This document will guide you through the process of installing fileSMART to your workstation. Information about the changes and improvements in this version can be found in the Enhancements Release Notes available in the fileSMART Archive help file.
Prerequisite Software
fileSMART Server
The fileSMART Server installation must have already been run on your server.
Outlook Plugin
One of the features that can be installed by the workstation installer is the fileSMART Outlook Plugin. The plugin provides seamless integration between Microsoft® Outlook® and fileSMART Archive allowing you to archive emails directly from outlook.
Before you can install the plugin on a workstation you need to make sure that you have Microsoft® Outlook® installed. The following versions are supported:
- Outlook 2007 (Service Pack 3 only)
- Outlook 2010
- Outlook 2013
Note that 64 bit versions of Outlook are not currently supported. For Office 2007 it is essential that service pack 3 is installed before the Add-in can be installed. Please see this reference for installation details - http://www.microsoft.com/en-au/download/details.aspx?id=27838
Other Components
The fileSMART Client installer will automatically install the following components to your computer if you are missing them. In some cases this will happen silently, but in others the installation is quite large and you will be prompted so that you can see the progress of the installation:
- Adobe Reader XI
- Office Primary Interop Assemblies
- Visual Studio Tools for Office
- Visual C++ Runtime
- .NET 4.0
- .NET 3.5
Client Installation
The following steps describe how to install the fileSMART Client.
- Locate the fileSMART Client.exe installation file that you will find in your \\[fileSMART Server]\AS_FILES\Packages\Client folder. Where [fileSMART Server] is the name of your server on the network; for example \\CompanyServer\AS_FILES\Packages\Client.
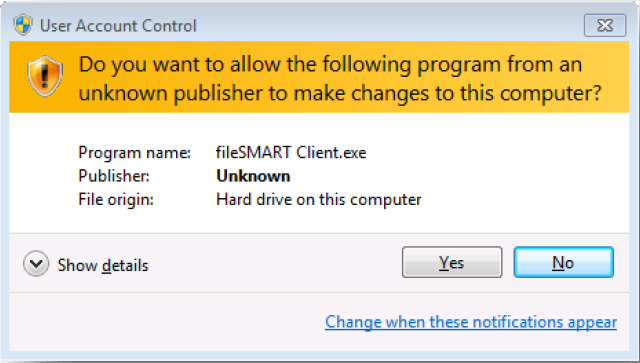
- Now launch the fileSMART Client.exe. Many versions of Windows will now prompt you to confirm that you want to make system changes with the following window. Click Yes if you want to proceed with the installation.
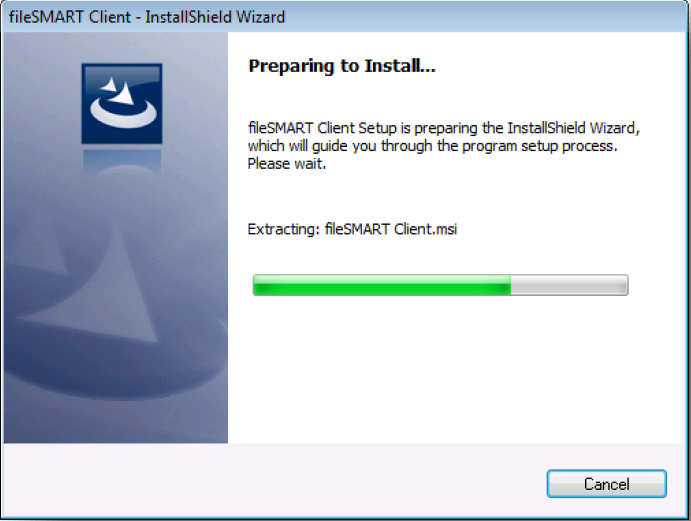
- Preparing to Install… The first step simply extracts all the installation files in preparation for the installation.
- In this step you can select which fileSMART Client configuration you would like to install. If you are planning to run a Property Management owner statement collation from this workstation make sure that you install fileSMART. The fileSMART desktop icon and the fileSMART program menu now contains both the PrintMail program and the Workflow Assist program. By selecting fileSMART you will install both PrintMail and Workflow Assist if you are a REST Professional client. If you are a STRATA Master client when selecting fileSMART it will install only the Workflow Assist component. If you forget you can always re-run the client installer and add it later. By default the following components are selected.
- fileSMART Archive: the main fileSMART client interface
- fileSMART Outlook AddIn: An add-on component to Microsoft Outlook that lets you save emails directly from Outlook into fileSMART.
- fileSMART Printers: Virtual printer drivers that allow you print from any application directly into fileSMART. The files are converted to image (TIFF) files when they are printed like this.

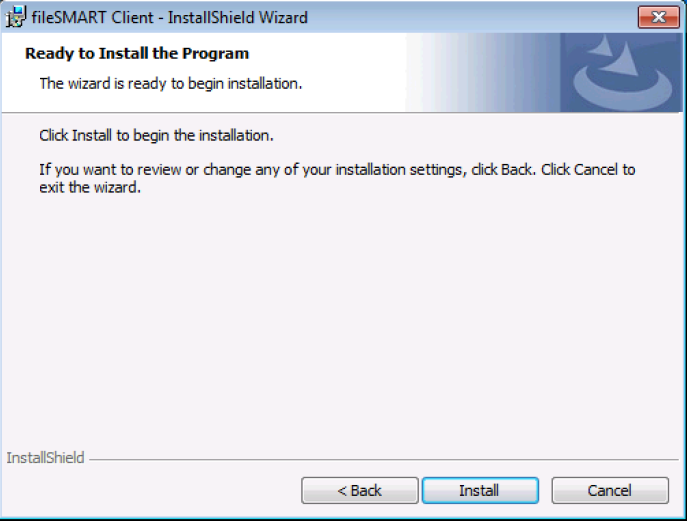
- Ready to Install the Program The fileSMART client is now ready to begin the installation. Click the Install button to start the installation process. During the installation a number of other components may need to be installed, simply accept all component installations. Note however the printer driver installation instructions next.
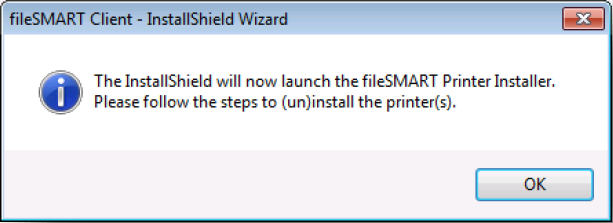
- Printer Driver Installation During the installation of the fileSMART client you will be prompted with the following message when the printer driver installation begins. There are six different printer drivers available for fileSMART users and this manual will describe the purpose for each and how they are installed. Click OK to proceed with the printer driver installation.
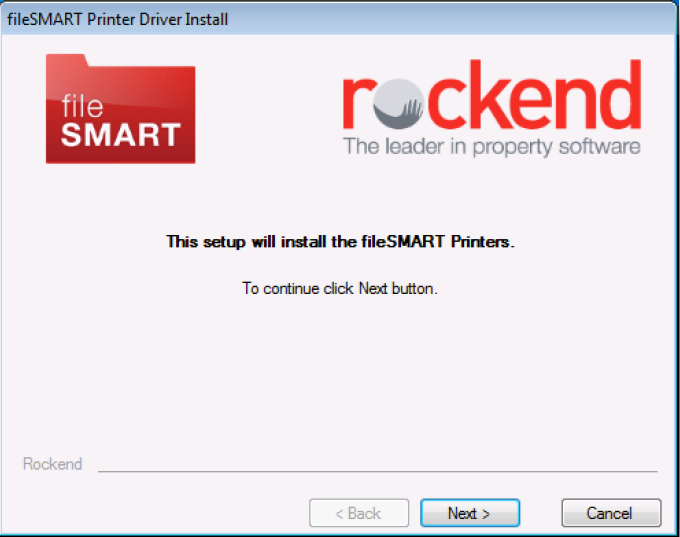
- fileSMART Printer Driver Install This is the printer driver installation welcome screen. Press Next to continue.
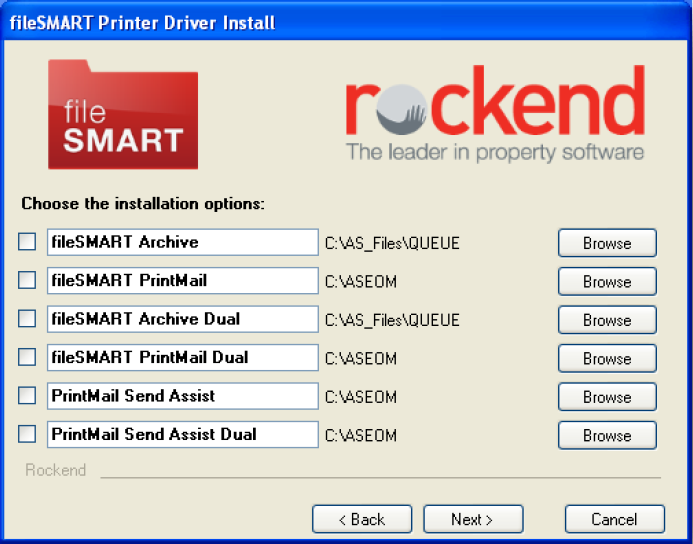
- Choose the installation options: This steps lets you select which printer drivers you want to install. You have the following options:
- fileSMART Archive: This printer driver lets you print from any application to the fileSMART Archive pending queue. You should always select this to be installed.
- fileSMART PrintMail: This printer driver is used to send reports, such as Owner Statements, from REST Professional to fileSMART. It will automatically detect the report data and archive it. It is also used for compliance reports such as Bank Ledgers and Monthly Bank Reconciliations.
- fileSMART Archive Dual: This printer driver lets you print from any application to the fileSMART Archive pending queue, it also re-directs your document to a physical printer. This means you get to send the document to fileSMART and print it out in one step.
- fileSMART PrintMail Dual: This printer driver is used to send reports, such as Owner Statements, from REST Professional to fileSMART. it also re-directs your report to a physical printer. This means you get to send a document to fileSMART PrintMail and print it out in one step. This printer should only be installed if you have PrintMail installed on this workstation and if you are integrating fileSMART with REST Professional.
- PrintMail Send Assist: This printer driver is used to send reports, such as Owner Statements, form Console Gateway to fileSMART. The printer is configured in conjunction with your Send Assist setup so that any documents exported through Send Assist are also directed to this printer.
- PrintMail Send Assist Dual: This printer driver is used to send reports, such as Owner Statements, from Console Gateway to fileSMART. It also re-directs your report to a physical printer. This means you get to send a document to fileSMART PrintMail and print it out in one step. The printer is configured in conjunction with your Send Assist setup so that any documents exported through Send Assist are also directed to this printer.
For more information about configuring these printers for Console Send Assist refer to the Post Installation section later in this document.
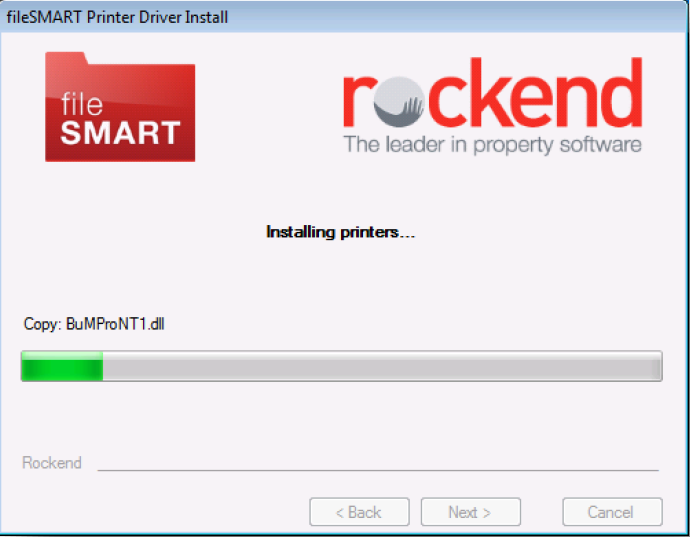
- Installing printers… Shows the progress of the printer installation
- Setup has finished installing the printer(s) on your computer. This indicates the end of the printer driver installation.
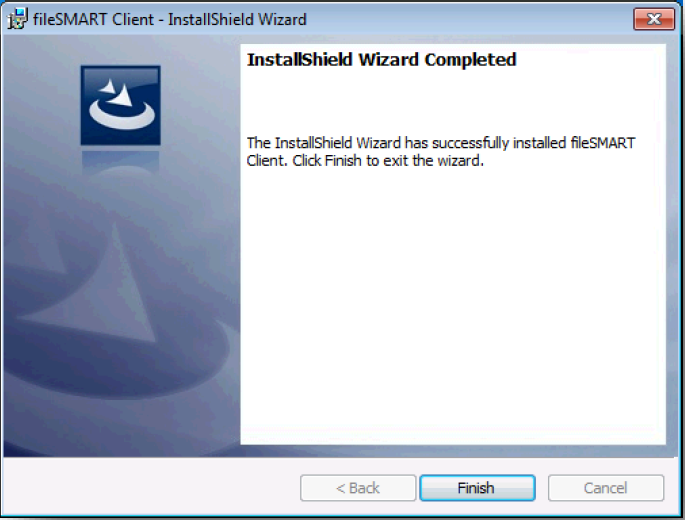
- InstallShield Wizard Completed This step indicates that end of the fileSMART Client installation has been reached. Click Finish to complete the installation.