How to Pay a Disbursement already created in REST Professional
Overview
There may be some instances where a creditor needs to be paid separately to other creditors; however the disbursement has already been entered in REST.
This document will cover:
- How to Locate the Disbursement in REST
- How to Process the Outstanding Disbursement
- How to Payout the Creditor
How to Locate the Disbursement in REST
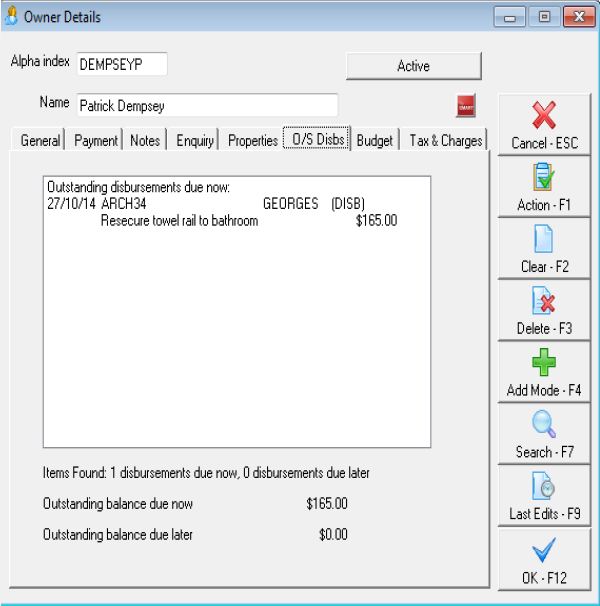
- If the disbursement has been entered in REST but not processed, this can be seen on the owner card by going to Files > Owner > O/s Disb tab. This can also be previewed in the Creditor Reports by going to Reports > Creditor > Outstanding Disbursements > By Creditor/Property
- If the disbursement has been processed but not yet paid to the creditor, you will see this on your creditor report. You can view this by going to Reports > Creditor > Unpaid Disbursements
How to Process the Outstanding Disubrsement
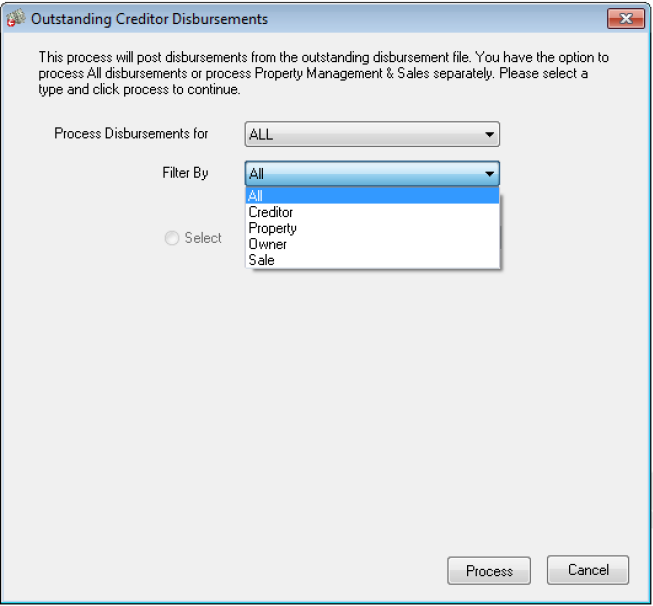
- Go to Transactions > Outstanding Disbursements > Process Outstanding Disbursements
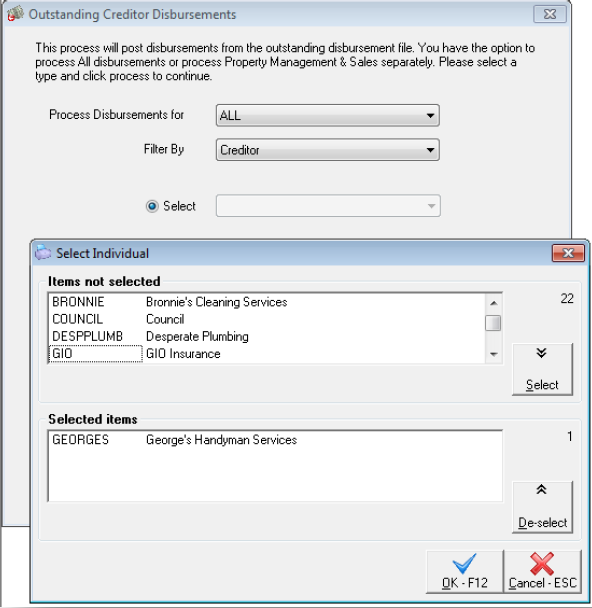
- Under ‘Filter By’, select the Creditor, Property, Owner or Sale that you want to process
- Select the relevant Creditor/Owner/Property/Sale to be paid
- Click OK-F12
- Click on Process
- Click OK to outstanding disbursement complete message

- Click on Finish
How to Payout the Creditor
- Go to Reports > Creditor > Remittance and Payment
- Select the creditor to be paid
- Click OK-F12
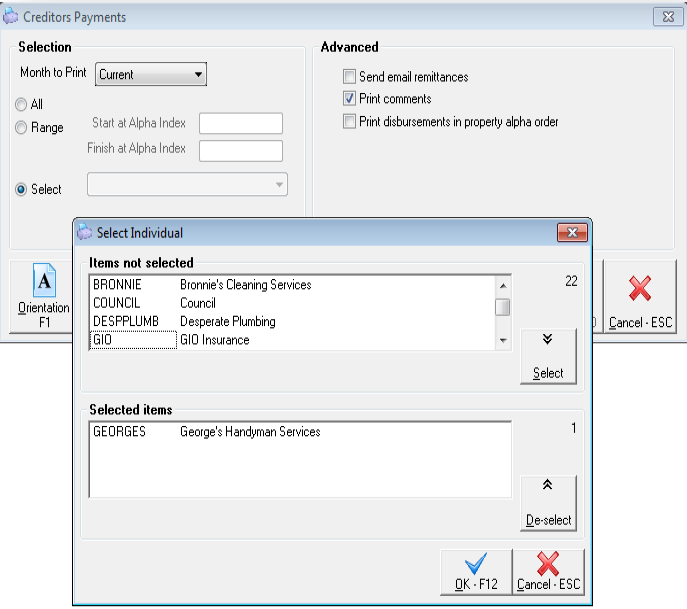
- Select criteria. If sending creditor remittances via email select ‘send email remittances’
- Click on Next

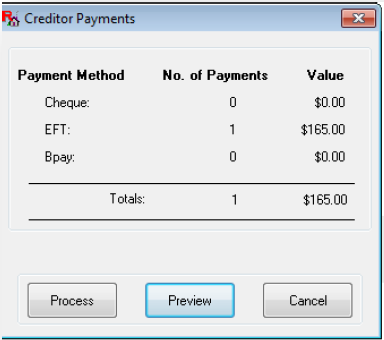
- You can now preview the creditor payment or click on Process to continue
- Click OK – Print remittances
- Click on Print - Remittances to be printed
- You will then be prompted depending on the payment method:-
For EFT Payments
- Click OK to message that states creditor records have not yet been updated. Records will be updated should you choose to continue
- Click OK to message confirming the number of eft payments written to the temporary eft file
- Create the ABA file immediately – Go to Transactions > Create file for upload to bank > EFT(ABA) Payments and click Print-F12
- Ensure you upload this to the bank now
For Cheques
- Click OK to print creditor cheques
- Say No when prompted to print an Alignment cheque
- Confirm cheque number – This is the cheque number that the payment will be made on
For BPAY Payments
- Click OK to print processed bpay payments report and select the printer
- Click OK to message confirming the number of bpay payments written to the temporary bpay file
- Create the bpay file immediately – Go to Transactions > Create file for upload to bank > Bulk Bpay Payments. Click Print-F12
- Ensure you upload this to the bank now