fileSMART Post Installation Instructions
On the fileSMART Server
Update fileSMART from STRATA Master
This section only applies if you have installed fileSMART for STRATA Master. fileSMART will update information from STRATA Master automatically every day at 1AM via a scheduled task in the Windows Task Scheduler. There is also a shortcut on the desktop of the fileSMART Server and in the File menu in fileSMART Archive so that you may run this process manually when required.
Update fileSMART from REST Professional
This section only applies if you have installed fileSMART for REST Professional. fileSMART will update information from REST Professional automatically every day at 1AM via a scheduled task in the Windows Task Scheduler. There is also a shortcut on the desktop of the fileSMART Server and in the File menu in fileSMART Archive so that you may run this process manually when required.

fileSMART Backup Configuration
fileSMART has a built-in backup utility that utilises 7-Zip to back up the SQL database and document store to a compressed ZIP file. Click here to see the fileSMART Backup instructions.
The Rockend Trust accounting service
If your fileSMART Server is installed on a different windows server to your REST Professional data, you need to make sure that the Rockend Trust Accounting Service is able to communicate with the REST Server. To do this:
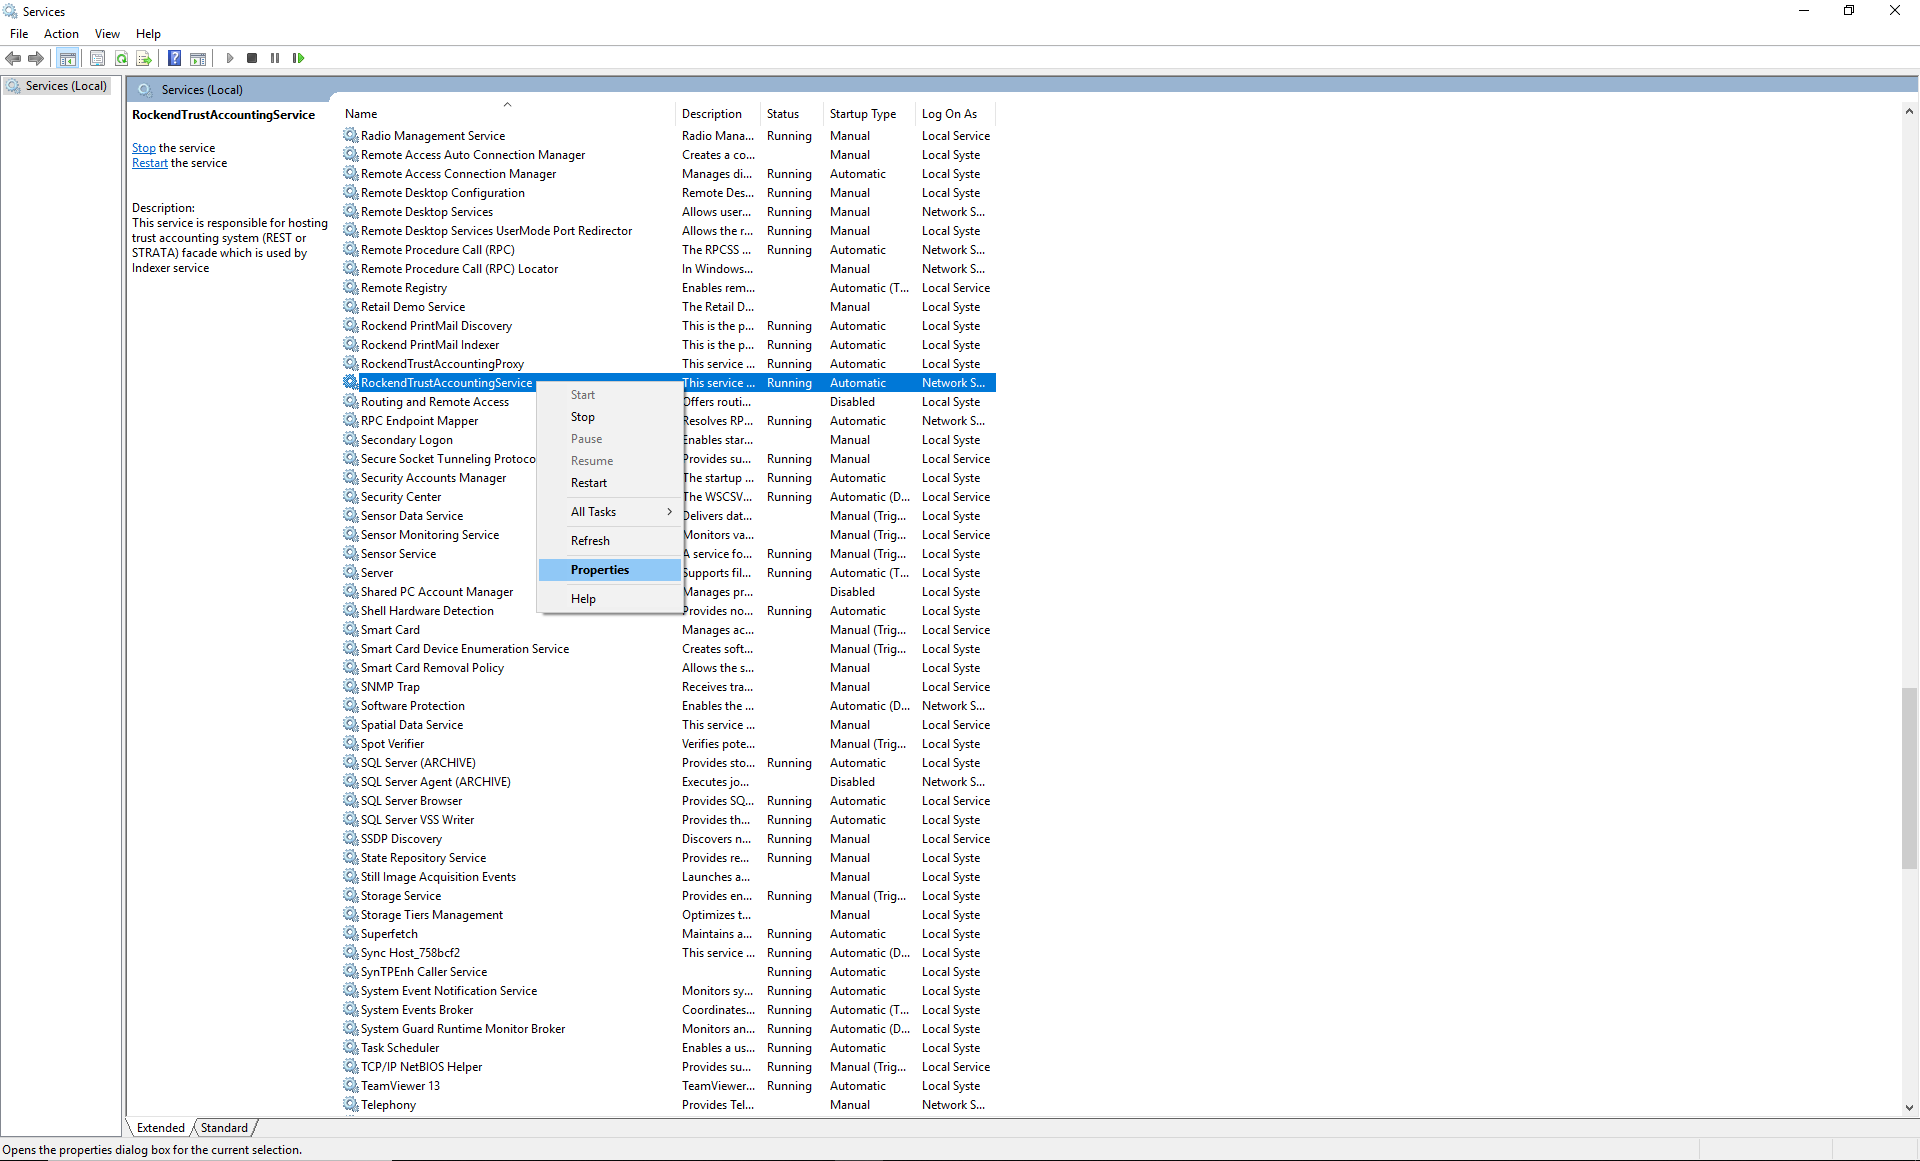
- From the Windows menu, go to your local Services.
- Right click on the Rockendtrustaccounting Service and select Properties.
- Go to the Logon tab, and select the 'This account' radio button. You will then need to enter a Windows username and password that will allow the service to access the REST server. If you do not know this Windows username and password, your IT people can provide one for you.
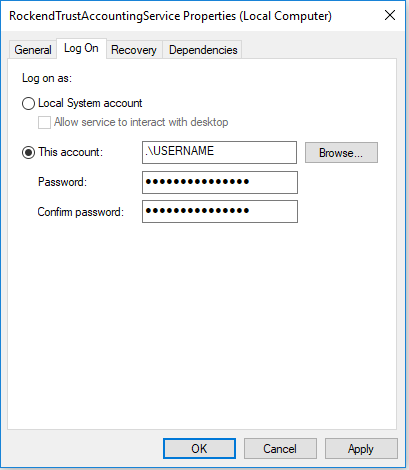
- Click OK to save the details and then restart the service by right-clicking on it and selecting 'Restart'.


On the Workstations
Click here to view the fileSMART Workstation Installation Instructions
Test the fileSMART Printer Drivers
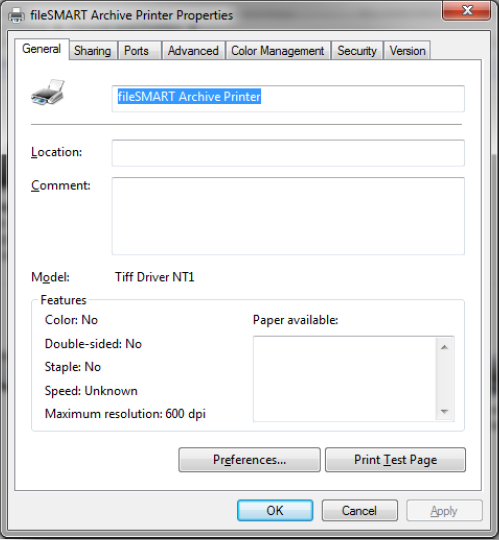
Open the fileSMART Archive Printer properties page by going to:
- Control Panel > Devices and Printers
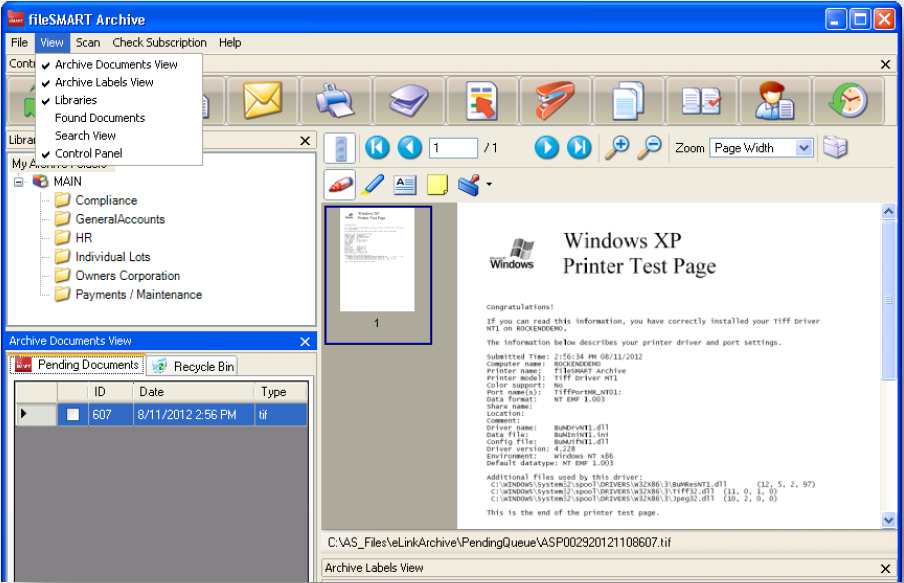
Then right-click on the fileSMART Archive Printer and select Printer Properties. Click Print Test Page.
Login to fileSMART, ensure you are in “Archive Documents View” so the Pending Queue is displayed and check to see if the printer test page appears.
If you have the fileSMART PrintMail Printer, right click and select Printer Properties. Click Print Test Page. This should prompt the Auto Archive screen to appear, and it will ask you to log in. These login details will determine which pending queue the documents go to if the AutoArchive fails, and what user is recorded as having archived the document. Once you have entered the fileSMART user details, the document will drop into the pending queue. You can close the Auto Archive box manually.
Console Send Assist Configuration
For those customers who are using Console with Send Assist the following configuration steps will need to be followed once the printer drivers are installed.
- Open Console Gateway on the End Of Month workstation
- Go to Tools - Send Assist
- Click Preferences
- Select the PrintMail Send Assist printer
- Set the text file to save to location to “C:\ASEOM”
- Make sure all other check boxes are un-set and then click OK
USB Scanner Configuration
If you have a USB scanner attached to a workstation and would like to configure it to scan into fileSMART, follow the steps below:
- Ensure the scanner drivers are installed and the scanner works properly by following the manufacturer’s instructions. In most cases the instructions will tell you that the scanner should not be connected to the computer until after the drivers have been installed.
- Log into fileSMART Archive and ensure the scanner is turned on.
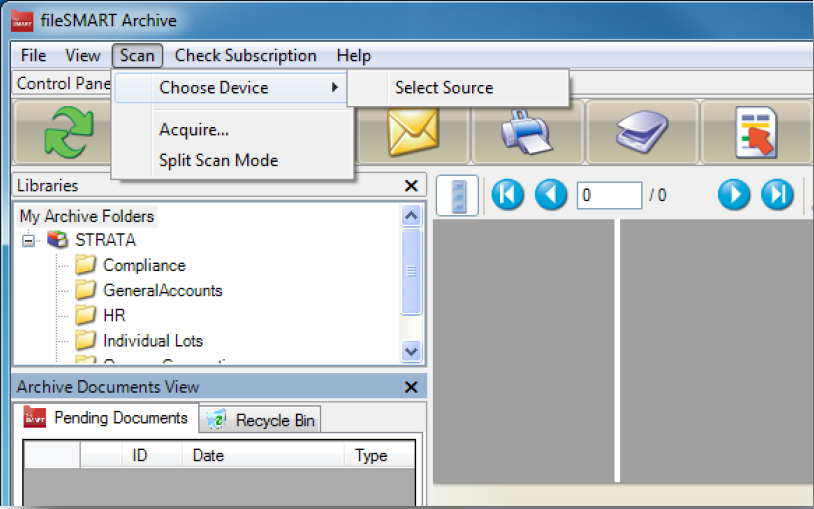
- From the “Scan” menu, select “Choose Device” and “Select Source”
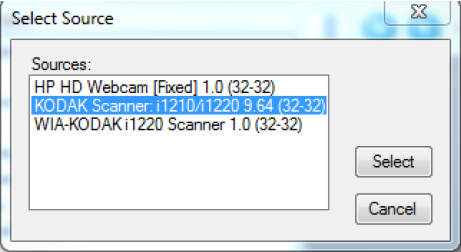
- From the displayed list, choose the TWAIN driver of the scanner you installed and Click the “Select” button (don’t choose the ISIS driver if that has also been installed).
Tam : The following sources are shown
- Click on the “Scan Documents” button in the Toolbar.
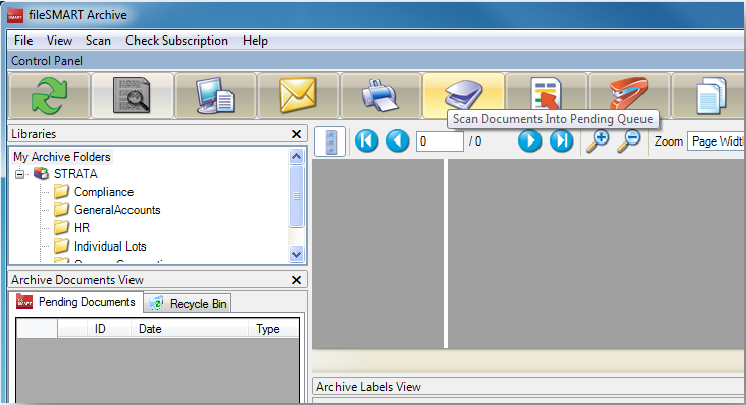
- The scanner interface for the brand of scanner you are using should appear. If not, check that the correct scanner driver has been selected in the ‘Scan’ menu and that the scanner has been installed correctly as per the manufacturer’s instructions.
USB Scanner preferences
- Most scanner interfaces allow you to save customised scanning settings into a ‘User Preferences’ list. Depending on the brand of scanner, this may be called ‘Custom Settings’ or ‘User Profiles’ or similar. These lists allow users to quickly choose all the correct scan settings for common scanning jobs without having to understand all the individual controls.
- To start off, choose settings for Black and White, 300dpi, Single-sided (this option may be called ‘Simplex’) and save this as a User Preference called ‘B&W single-sided’. 300dpi resolution gives a good quality scan and a relatively small file size. Higher resolution settings are not required.
- Then choose settings for Black and White, 300dpi, double-sided (or ‘Duplex’) and save this as a User Preference called ‘B&W double-sided’
- As you use the software and find modifications to the settings that give better results, modify the User Preferences already saved. And as you find new setting combinations that work well for particular scanning jobs, add those settings to the list with a suitable description.
MFD Scanner Configuration
Users must be correctly configured to a scanner to allow the importation of documents for subsequent processing by fileSMART. However, the process of scanning documents between a scanner and workstation or server is a physical connection unrelated to fileSMART functionality. In other words if your scanned documents are not appearing in your designated drive on your PC, this is not a fileSMART issue but a communication or configuration problem that will require the assistance of your IT service agent.
Multifunction Device
A multifunction device (MFD) can be used for scanning if it supports scanning to PC and it is capable of being configured with multiple user profiles each of which can send scans to a specific shared folder on the user’s workstation. The MFD must be configured to create black and white TIFF files at 300dpi with Group 4 fax compression.
If the MFD does not meet these requirements, it is not satisfactory for achieving the most efficient document workflow in your office.
The MFD must be configured with an address for each person intending to use fileSMART Archive. Each user may already have an address in the MFD for emailing but a new address should be added called for example ‘Lisa Archive’.
MFD User Address Defaults
The user address defaults on the MFD must be set to the following values:
- Black and white
- TIFF image file format
- Group 4 fax compression
- 300 dpi (dots per inch resolution)
- A4 paper size
- The destination folder for each address should send the scan to the
- C:\AS_FILES\Queue\[WindowsUserName] folder on the user’s computer, where [WindowsUserName] is the user’s Windows login on that computer.
- If there are multiple login profiles on a workstation, there will be multiple [WindowsUserName] folders.
- If fileSMART Archive is accessed from Terminal Server then the destination must be
- C:\AS_FILES\Queue\[WindowsUserName] for that user’s terminal server profile.
- The scans must not go into a subfolder of the [WindowsUserName] folder.