How to Install a new Strata Master Server
Overview
This document will guide you through the process of installing the Strata Master Server. The instructions cover both a Single User and a Network Installation. Each step is explained in detail for both technical and non-technical users.
Refer to this article to install Strata Master onto a new workstation
Please ensure that all staff involved in the installation of Strata Master read this document before commencing the installation process.
If you encounter any problems during the installation please refer to Troubleshooting at the end of the installation instructions.
Installation Options
- Single User: Strata Master only accessible from one computer.
- Multi-User: Strata Master will be accessible across a network on more than one computer.
- Peer-to-Peer Network: One of the computers/workstations also acts as the server to store the data.
- Server Network: Your data is stored on a server.
Before installing Strata Master, you must check the following settings on all computers.
For Windows Vista, Windows 7, Windows 8 / 8.1 and Windows 10
- Click Start > Control Panel > Clock, Language and Region > Change the date, time, or number format; select the format English (Australian).
- Click Start > Control Panel > Clock, Language and Region > Change the date, time, or number format Select the short date format DD/MM/YYYY
- Click Start > Control Panel > Hardware and Sound >Personalization > Display Settings. Minimum screen resolution is 1024 x 768, recommended resolution is 1920 x 1080 and Scale & Layout set to 100% (recommended)
Installation
Ensure the new computer meets our System Requirements and you have completed the Checklist to Optimise and Protect your installation of Strata Master.
Refer to: Strata Master System Requirements (page 7)
- You will require the Full Installation package for your version of Strata Master. If your agency is on-boarding you should have received the installation files on a USB drive.
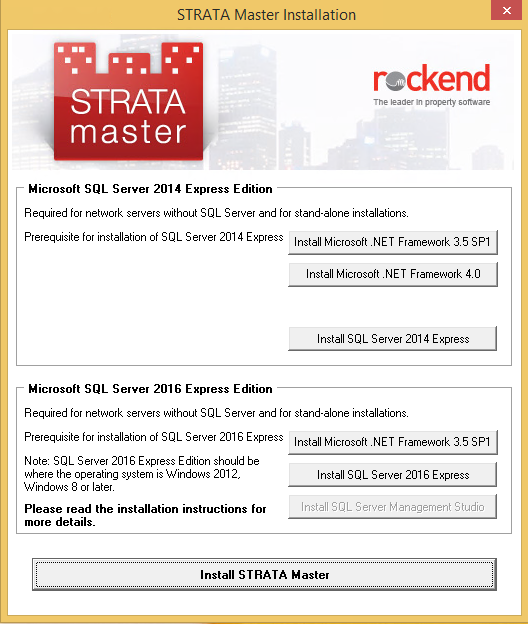
Otherwise, please contact Rockend Support to request a copy - In Windows Explorer, navigate to the Full Installation package, right click on the Setup.exe file, select Run as Administrator and wait for the screen below to display.
- If you intend to use an existing installed version of Microsoft SQL Server then go to step 11
If a version of Microsoft SQL Server has been purchased, this should be installed prior to installing STRATA Master.
To install Microsoft SQL Server 2014 Express Edition, which is provided with the STRATA Master installation, select the Install SQL Server 2014 Express button and continue or to Install Microsoft SQL Server 2016 Express Edition go to Step 8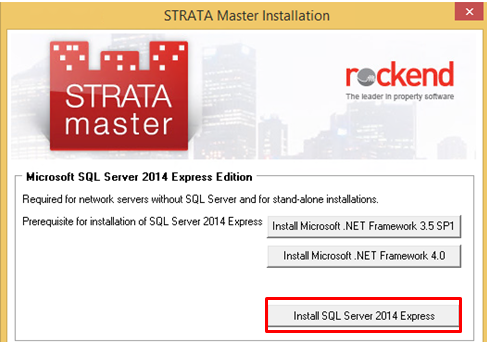
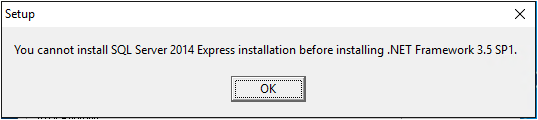
- After selecting the Install
SQL Server 2014 Express button, if the operating system of the computer does not include the required Microsoft .NET Framework 3.5, the installation will prompt you to install this framework before you can continue installing SQL Express or Skip to step 7.
The following Frameworks are provided with Windows by default.- Microsoft .NET Framework 3.5 Service Pack 1 - Included in Windows 7 OS
- Microsoft .NET Framework 4.0 - Included in Windows 8/8.1 OS
- Microsoft .NET Framework 4.0 - Included in Windows 10 OS
These Frameworks are included on the STRATA Master Installation USB
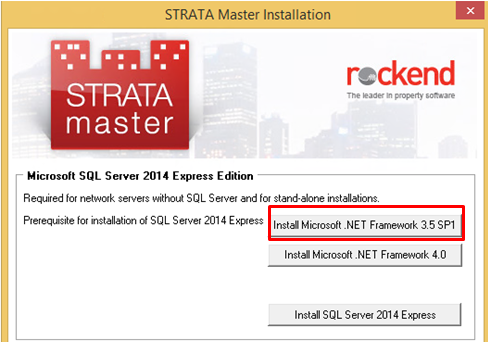
- Click on the Install
Microsoft .NET Framework 3.5 SP1 button to install the prerequisites for your operating system.
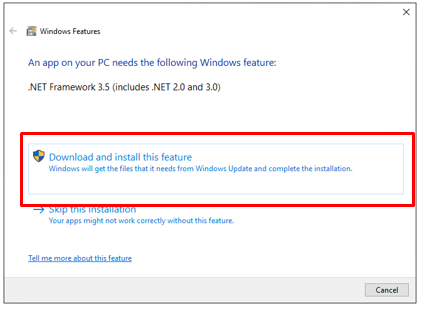
- Select to Download and install this feature.
- Click the Install SQL Server 2014 Express button after the Microsoft .NET Framework 3.5 installation is complete. This will process automatically.
When the installation is finished, this screen will close and it will go back to the main installation screen. Go to Step 11.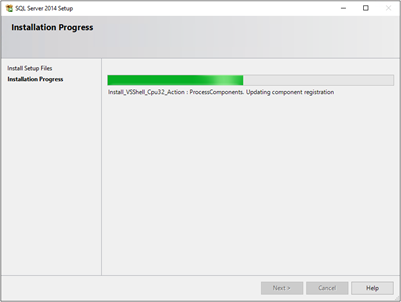
- To install Microsoft SQL Server 2016 Express Edition, which is provided with the Strata Master installation, select the Install
SQL Server 2016 Express button.
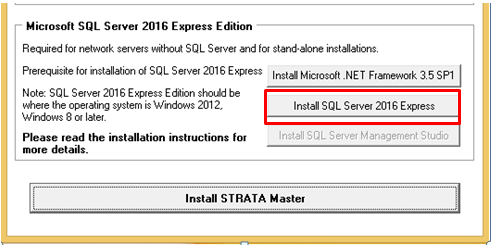
- Install SQL Server 2016 Express Studio gets enabled after SQL Server 2016 express is installed.
To install SQL Server Management Studio for SQL Server 2016 Express click Install SQL Server Management Studio button or go to step 10
- Ensure .NET Framework 3.5 SP1 is installed. If not click Install Microsoft .NET Framework 3.5 SP1 button and complete installing .NET Framework 3.5 SP1.
- Install the STRATA Master application on the server by clicking the Install Strata Master button.
Follow the steps noted on the article "How to Install Strata Master onto a New Computer" but ensure you select Server at step 7.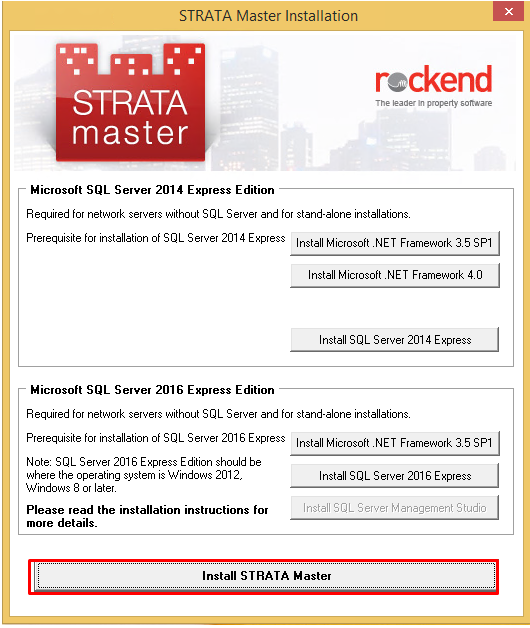
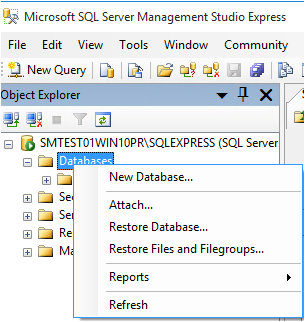
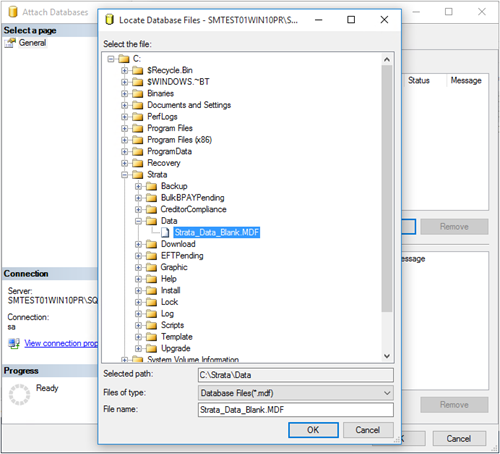
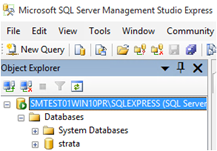
- Attach the strata database to the SQL server manually.
- Launch Strata.udl from C:\Strata to save the SQL connection.
Select the SQL instance and the database on the server. Use a specific username and password to connect with SQL or go to next Step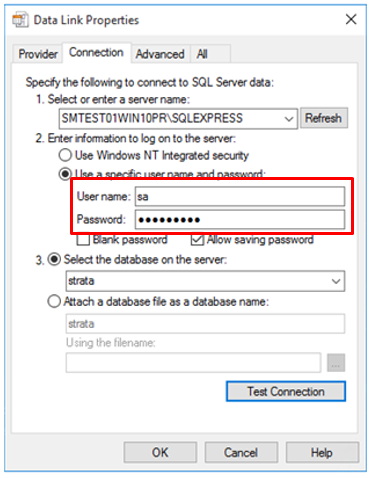


Ensure you clear the specific User name and Password before selecting windows authentication
- On the server go to C:\Strata
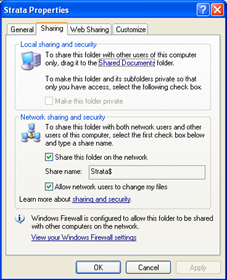
NOTE: This step is not required for a single user installation- Right Mouse Click & Select Sharing
- Type Strata$ in Share Name
- Click on Apply & OK
- Go to Window Explorer to make sure that the Installation has created these Folders
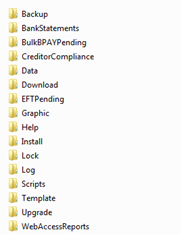
- NOTE: Documents folder will be created automatically when the first plan is entered or when backup is done.
- During the installation, the Strata Master shortcut is created on the desktop.
- Open Strata Master from the shortcut and log into Strata Master using Administrator as the login and password.


Troubleshooting
If you are able to map a network drive from a workstation but not able to connect to the Strata Master database then the problem could be with the Windows Security settings on the server.
- Check Control Panel > Security Center > Windows Firewall to confirm if the Firewall is set On or Off
- If it is set to On you will need to go to the Exceptions tab and create an entry for the SQL Server Service and SQL Broswer Service executables - as seen in Windows Services
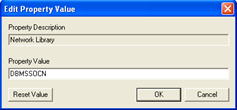
- If Strata Master has trouble connecting to the Database immediately after installation browse and locate C:\Strata\Strata.udl and double click on the file.

- Go to the All tab and double click on Network Library
- Delete the value in the Property Value, leave it blank and click on OK
- Click OK to save the file


If you are still unable to open Strata Master contact Technical Support.