How to Install Rest Professional onto a New Computer
Overview
These instructions will take you through the process to install Rest Professional onto a new computer. You do not need the CD to install Rest.
Steps
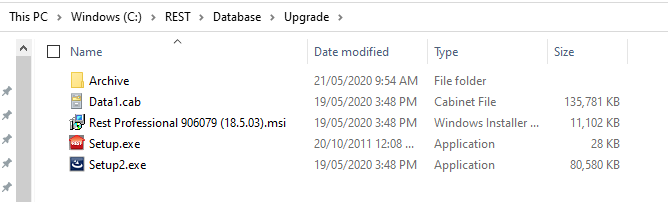
The setup file is located in the Upgrade folder which is in the Rest folder on your server. If you do not know where this is, log into Rest Professional on one of the computer that already has Rest connected.
Go to Help > About REST > Rest Info > File Locations, make a note of the path to the upgrade folder

Once you have done this close this window and then go to the computer that you want to install Rest to.
Ensure the new computer meets our System Requirements and you have completed the Checklist to Optimise and Protect your installation of Rest Professional.
Browse to the location of the upgrade folder through windows explorer.
NOTE: Keep in mind that if the path you wrote down has a drive letter and you cannot find that drive letter in explorer this means the drive has not been mapped, ideally you should map the drive first or else the drive will be more difficult to locate. Your internal IT staff can assist you with this if required.
In the Upgrade folder, double click on the setup.exe file (see below)
NOTE: the MSI file may have different version numbers depending what version of Rest Professional you are running.

- On the InstallShield wizard screen, click Next

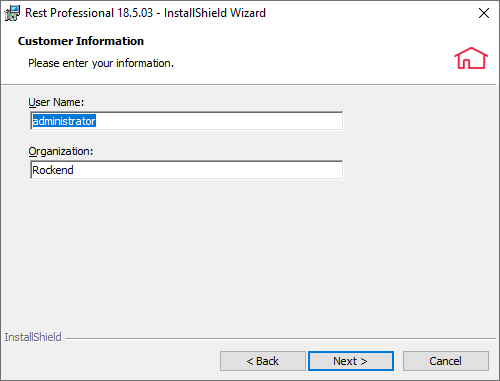
- In the customer information, leave the details that default and click Next
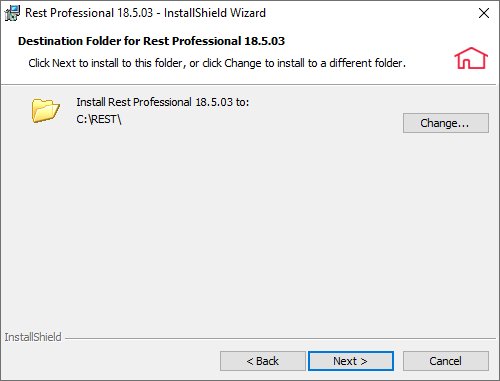
- The destination folder should default to C:\REST. Click Next
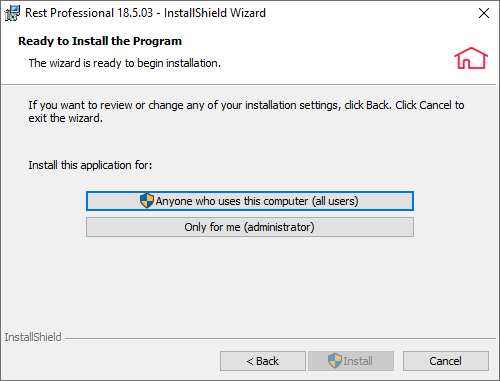
Click on Anyone who uses this computer (all users), this will ensure anyone else who logs into the computer with their owner user credentials will be able to access Rest Professional.


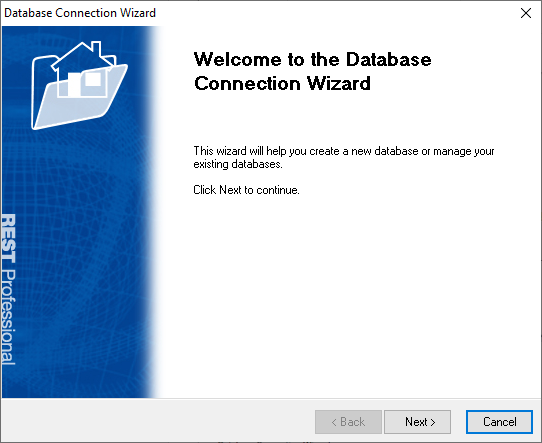
This will now install the program in the C drive.You should now also see the Rest Professional icon on the desktop. Double click on the Rest professional icon and the Database Connection Wizard will appear. Click Next
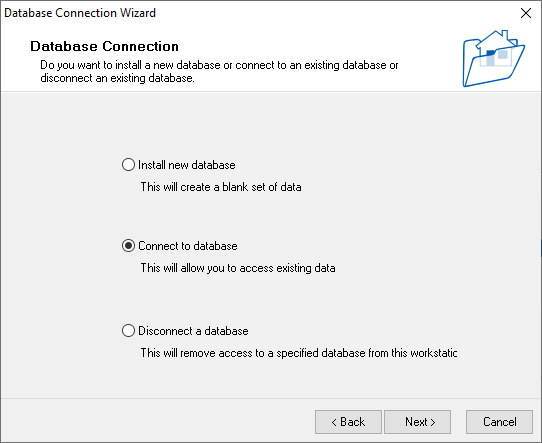
Click on ‘Connect to Database’ and click Next

Click on Browse and browse to the Data folder in the Rest folder on your network
NOTE: This folder will be in the same location as the upgrade folder (see the first step)
Click on the rmconfig file and then click Open

You may be asked to set your regional and language settings. If so say yes and the regional and language settings box will automatically appear. Ensure your format is set to English (Australia). For more information on setting these options, please see document Setting Regional and Language Options to be Compatible with REST Professional
Once logged into REST be sure to setup your printers as you will not be able to print or preview any ledgers without this setup, and you will encounter an error. For further information on setting up printers see the following document How to Setup Printers in Rest