fileSMART PrintMail Installation Guide
Follow these steps to install PrintMail on a workstation that already has fileSMART Archive installed:
1. Open your Windows menu and search for and run the fileSMART Client Installer (this will
already be installed on your PC)
2. Select Next
3. Select the Modify box and select Next
4. Select the dropdown box next to fileSMART PrintMail – Workflow Assist and choose the destination. Select Next.
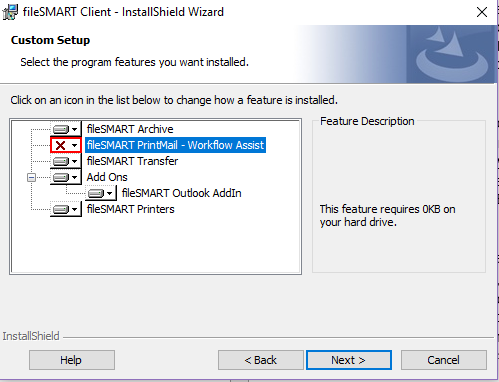
5. Select Install.
The wizard will advise if the installation was successful. You can then select Finish to close the fileSMART client Installer
Installing the PrintMail Printer
Once PrintMail has been installed, the PrintMail printer will also need to be installed. Follow these steps
to install the PrintMail Printer:
1. Open your Windows menu and search for and run the fileSMART Printer Installer (this will
already be installed on your PC)
2. A window will pop up asking “Do you want to uninstall all the fileSMART Printer Drivers?” Select
Yes.
3. When the uninstall has finished, you will be prompted to restart your computer, select No – I
will Restart Later and select Next.
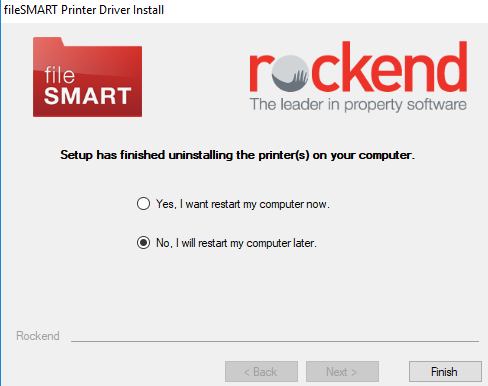
4. Select Finish.
5. Open your Windows menu and run the fileSMART Printer Installer again.
6. Select Next.
7. Tick the checkboxes for the printers you require and select Next.
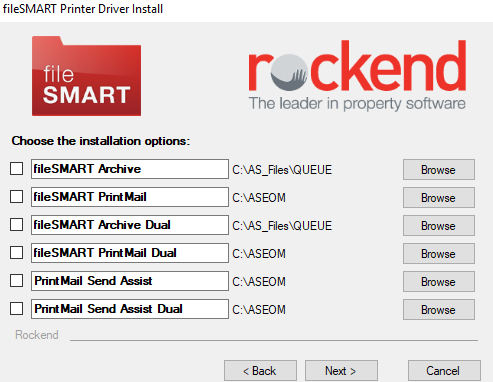
- fileSMART Archive – This printer is used to print items into your Pending Queue in fileSMART Archive.
- fileSMART PrintMail – This printer triggers the autoarchive process which automatically archives certain REST Professional documents to fileSMART Archive.
- fileSMART Archive Dual – This printer has a dual process which allows the user to send one copy of the document to fileSMART Archive, and then choose to print a copy of the document to a second (usually hard-copy) printer.
- fileSMART PrintMail Dual – This is most commonly used when printing statements with cheques attached. The dual process allows the user to print one copy to the fileSMART PrintMail printer (triggering the autoarchive functionality) and another copy to a second (usually hard copy printer)
- PrintMail Send Assist – This printer is used with Console Gateway when printing from the Send Assist component. It allows the statements to be auto archived to fileSMART Archive.
- PrintMail Send Assist Dual - This is most commonly used when printing statements with cheques attached from Console Gateway Send Assist component. The dual process allows the user to print one copy to the fileSMART PrintMail printer (triggering the autoarchive functionality) and another copy to a second (usually hard copy printer)
8. Select Finish.