End of Month Wizard - Bulk Printing Reports
The End of Month Wizard has been enhanced to include a configurable step that allows the bulk printing of all the currently listed audit reports as one step. This functionality is available for Property Management databases as well as combined Property Management & Sales databases. The step is only available for End of Month payout wizard.
If you are already using the End of Month Wizard, your End of Month Steps will not be altered during the upgrade to REST Professional Version 10.5. The step will be available to be added to your Wizard and you will need to configure the report printing options as a one-off task.
Configuring your Wizard to Bulk Print Reports
The End of Month Wizard configuration must be completed by a user with the REST security level Journals/EOM Wizard/Files Update & Above.
To add the new step Print EOM Reports to your End of Month Payout Wizard
- Select Other > Wizards > Owner Payments/End of Month or click the Wizard icon on the toolbar

- Click Next and select End of Month Payout
- Click Configure. The End of Month Payout Configuration Screen is displayed


- Click on Add. The Available Items screen is displayed

- Select Print EOM reports and click OK
- Enter a step number for this item. Audit reports should be printed after the second Bank Reconciliation has been balanced
- Click OK. The Setup EOM Report Defaults screen is displayed
The Setup EOM Report Defaults screen displays all the audit reports available for printing in the Wizard. This screen allows you to set the default reports to produce as part of your End of Month Procedure. You can also set the Report Printing Options for individual reports, and the print order of the reports.

To edit Reports Options:
- Highlight the report you would like to edit.
- Click the ellipsis button in the Report Options column; the Report Selection screen displays for the report selected
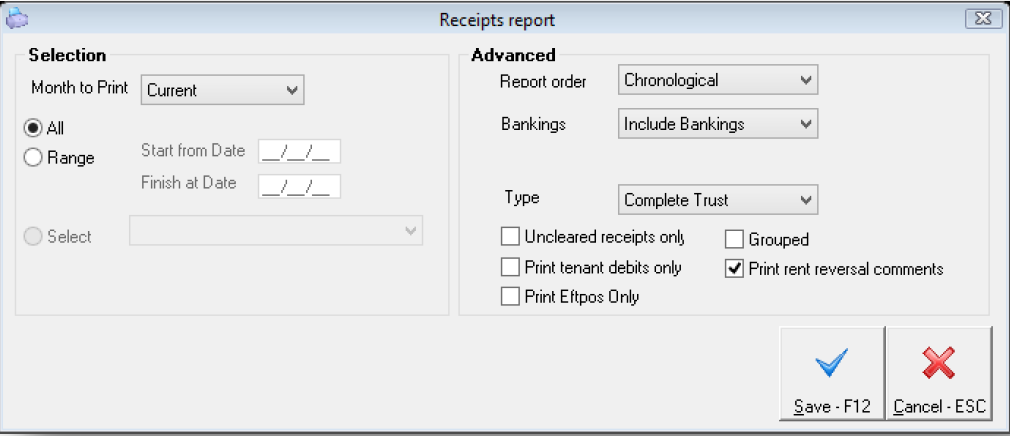
- Edit the Report Options as required. For example, on the Receipts Report you may choose to print rent reversal comments
- Click Save
To include a report for printing and exporting:
- Select Print and or Export for each item you need.

To modify the order of the reports:
- Highlight the report to be moved.
- Click Move Up or Move Down button to order the report as required.
- To save your EOM Report Defaults click Save
Now that you have added the Print EOM Reports step to your Wizard you will need to remove the individual report steps.
To remove the individual report steps:
- Highlight the step to be removed
- Click Remove
- Click Yes to confirm removal of the step
- Repeat this step for each report that you have included in the Print EOM Reports step
The configuration of the new step is complete. Click Next to process the End of Month Wizard or Cancel to exit.
Processing the Print EOM Reports Step
When you reach the Print EOM Reports step in the Wizard, the Print EOM Reports screen is displayed. Each report you selected as a default report is displayed and selected to be produced. You can choose to exclude a selected report by deselecting the Include checkbox. You can select to Print and/or Export your reports.

To print and export your End of Month Reports:
- Click on each item you do or so not want to print or export and click on Process
- If you have chosen to export any reports, you will get prompted to select a Export Directory. Choose the location you would like your documents saved to. Click OK-F12. All reports will now begin saving for you

- When this has finished you will be prompted to select the printer for any reports you selected to be printed

- Confirm your report Printer and click OK. When completed you will be returned to the Wizard to process your next step.
.