Enhanced Bank Reconciliation Adjustments
Rest Professional version 11 introduced enhanced entry and reporting of Bank Reconciliation Adjustments.
- You can enter as many adjustments as required to balance your bank reconciliation.
- The Adjustment Details field is longer to allow you to better explain the reason for the entry.
- Adjustments must be presented rather than deleted so entries can be reported on and balanced easily.
- Adjustments are no longer removed at the end of month using the system option Remove bank rec adjustments at EOM.
After upgrading to version 11, adjustments in the current month display in the new adjustment screen. Adjustments in previous months continue to display in the old screen.
Using the Adjustment Screen
Adjustments may be used to temporarily balance the bank reconciliation in a number of situations. For example: the bank debits bank fees to the trust account in error or EFTPOS transactions not settled.
The new adjustment screen works similarly to the unpresented cheques screen.
Create an Adjustment
To add a new adjustment:
- Select Cashbook > Bank Reconciliation or click the Bank Reconciliation toolbar icon
 .
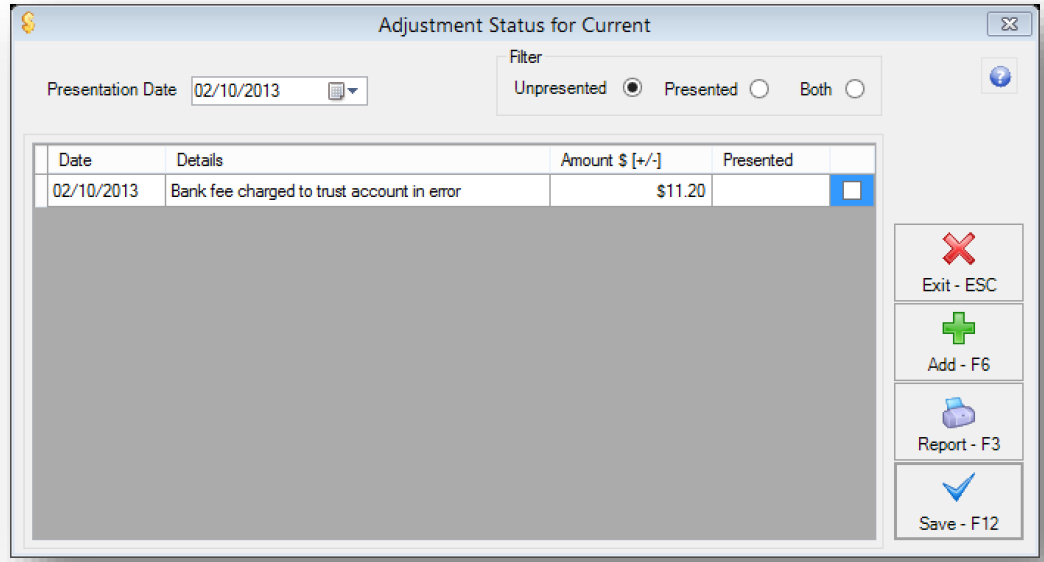
. - Click the Adjustments button. The Adjustment Status screen displays.
- Click the Add button to add a new entry to the grid.
- Confirm the Date for the adjustment, this date is defaulted to the Date of Bank Statement set on the Bank Reconciliation screen but can be edited to a date within the bank reconciliation period where required.
- Enter the Details of the adjustment. We recommend that you explain the reason as clearly as possible so that you and your auditor can easily understand and rectify the adjustment later.
- Enter the amount of the adjustment in the Amount field.
 .
.- If the transaction displays on your statement as a debit transaction enter it as a positive amount e.g. 100.00
- If the transaction displays on your statement as a credit transaction enter it as a negative amount e.g. -100.00
- Click Save.
Present an Adjustment
When an adjustment has been resolved with the correct transaction you can mark it as presented, similar to unpresented cheques, so you can always view adjustments that have been presented.
To present an Adjustment:
- Select Cashbook > Bank Reconciliation or click the Bank Reconciliation toolbar icon.
- Click the Adjustments button. The Adjustment Status screen displays.
- Select the Presentation Date. The presentation date must be within the bank reconciliation period.
- Select the Presented checkbox against the appropriate adjustment. The presentation date displays in the Presented column.
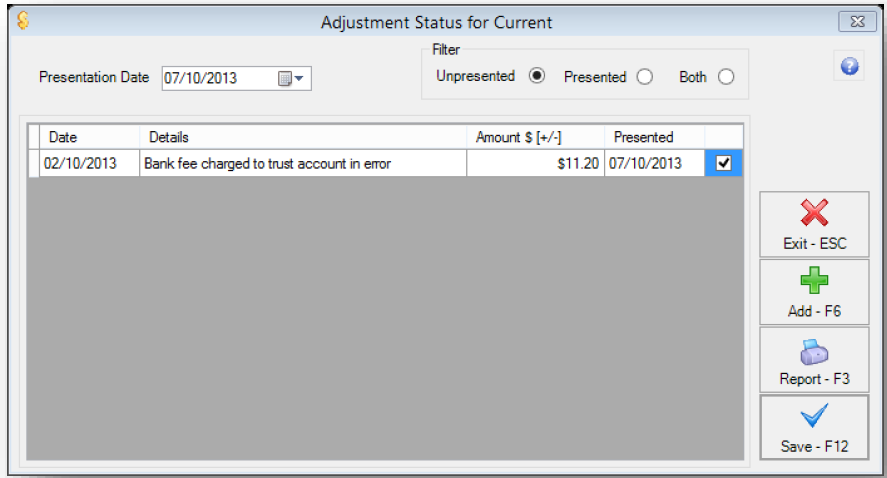
- Click Save.
Note: If you have entered an Adjustment by mistake, you cannot delete the entry, if you like, you could amend the description under 'Details' prior and make a note that it was "entered in error" or similar and then simply present the adjustment with the same date to remove it from the grid.
To view Adjustments in the grid that have been presented for each bank reconciliation period:
- Select Cashbook > Bank Reconciliation or click the Bank Reconciliation toolbar icon.
- Select the appropriate bank reconciliation period from the Previous Months drop-down list.
- Click the Adjustments button. The Adjustment Status screen displays.
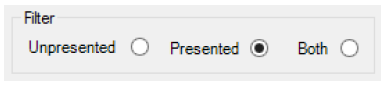
- Select Presented from the filter section. Adjustments presented for the period display.
Reports
The unpresented adjustment report is printed with the Bank Trust Account Reconciliation Report.
To separately report on presented or unpresented adjustments:
- Select Cashbook > Bank Reconciliation or click the Bank Reconciliation toolbar icon.
- Select the appropriate bank reconciliation period from the Previous Months drop-down list.
- Click the Adjustments button. The Adjustment Status screen displays.
- Click Report. The Adjustment List report selector displays.
- Select Show Unpresented Items or Show Presented Items.
- Click Print, Preview or Export to produce the Adjustment report.
