
Setting up Branches in REST Professional
Overview
The Branches function allows offices at different locations to log in to the same REST database with different receipt number sequences and separate daily banking sheets.
You may add up to nine branches, change branch names and delete branches.
You may also choose to have REST automatically load a specific branch from a workstation or to choose the
branch at log in.
Adding a branch
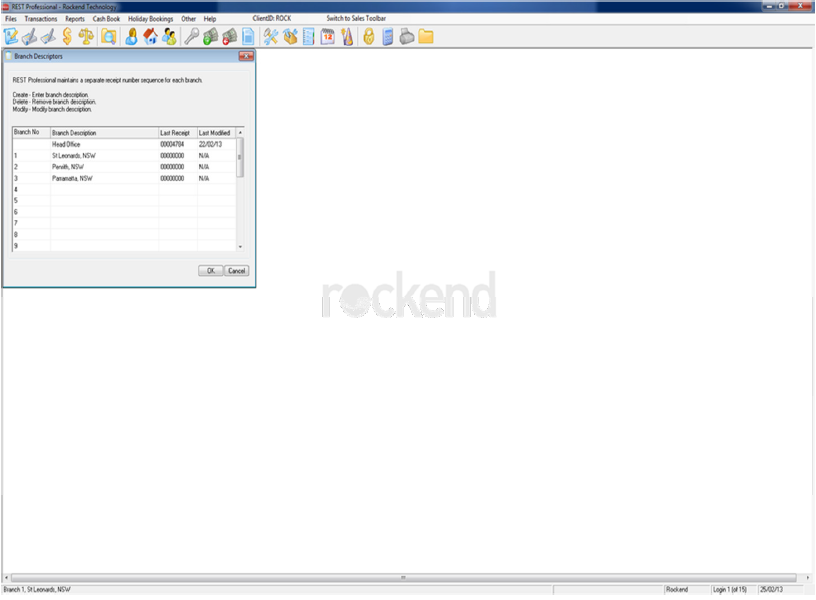
- Click on Files > Descriptors and Comments > Branch Descriptors
- You will require a response code (contact Rockend Support) to proceed to add in a branch
- You will note there is already a default “head Office”. Click on an empty branch description and enter the name of the branch
- Click OK to save the branch details
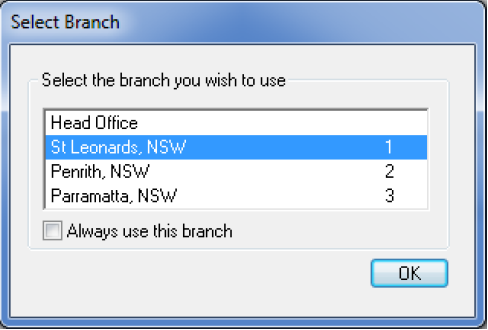
- The Select Branch screen will now appear and ask you to select the branch you wish to use. You can tick ‘always use this branch’ so that it will default to this branch from that work station
- Select the new branch and go to Other > Utilities > Alter Receipt Number and enter the first receipt number for that branch
![]() It is important that your receipt number sequence will not overlap with other branches as this will cause issues within the software
It is important that your receipt number sequence will not overlap with other branches as this will cause issues within the software
- Return to Head Office by selecting File > Select Branch and choose Head Office if required.
When an operator logs into REST for the first time, REST will ask to choose the branch name. As above, they should choose the branch, they should also tick the check box ‘always use this branch’ and REST will automatically load that branch from that PC without prompting.
To change the automatic loading of the branch select Files > Select Branch, highlight the branch and remove the tick from the checkbox.
Note: You must be logged in as the branch to run the daily banking for that branch
Removing a Branch
- Ensure that you are logged in as Head Office
- Click on Files > Descriptors and Comments > Branch Descriptors
- Click on the branch and delete the branch description
- Click on OK
- The below message will appear regarding the receipt number sequence for the branch you are deleting in REST. Click on YES to continue and the branch will now be deleted.
