
How to Create an Internal Owner Account in Rest Professional
Overview
Internal accounts are used in Rest to separate the various income streams of your property management portfolio.
For instance you can have an internal account which allows you to journal all Advertising reimbursements into. You may also choose to create an internal account which allows you to receipt all your unknown tenant deposits into.
There is no restriction on the number of internal accounts that you can create in Rest.
This document will Cover:
How to Setup an Internal Owner Card
- Go to Files > Owner or select the owner icon

- Click on Add Mode – F4 to enable data entry. Note: The alpha index must start with “AA”. The name of the account will be the relevant reason for the internal account (such as, advertising or unknown deposits).

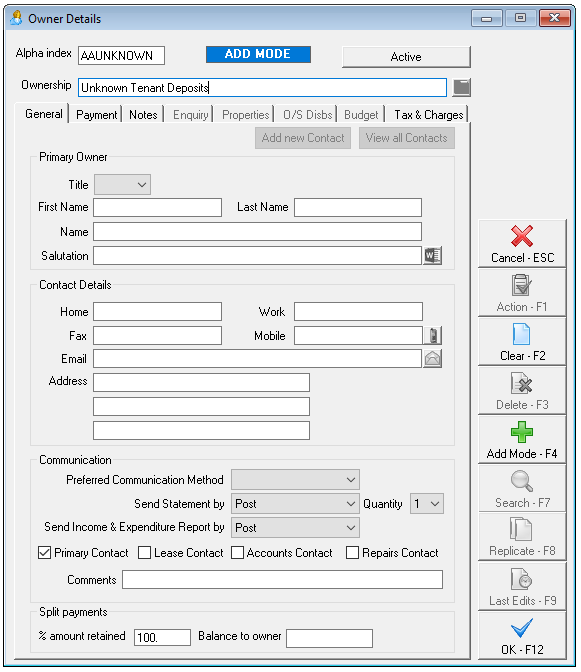
- Add the name of the account for example: Unknown Deposits (as shown above).
- Leave all other fields in the General Tab blank
- Enter details on the Payments Tab as required:-

- Payment method – select the payment method required. NOTE: If you intend to pay this account out at end of month, the payment method should be set to Cheque or Auto Deposit (EFT) depending on how you prefer to pay funds from your trust account into your trading account. If this is intended to be a holding account, the funds should never be paid automatically out of the trust account and the payment method must be set to Carried forward.
- Statement Control - Change the Statement Control from Group A to Group I (internal).
- Enter the details on the Tax & Charges Tab as required:-
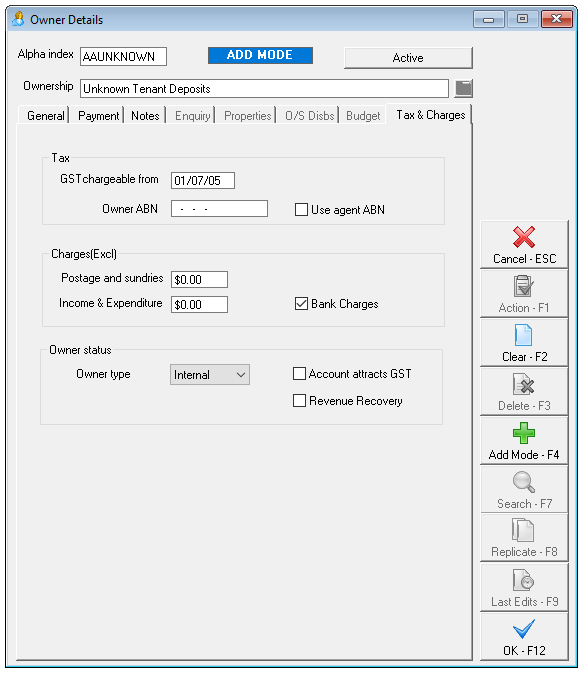
- Tax – leave this section to default
- Charges - Remove all fees from the Postage and Sundries and Income and Expenditure fields
- Owner Status - In the “Owner type” drop down box, change this to Internal.
- Account Attract GST - If you are collecting GST on this account, then tick Account attracts GST
- Revenue Recovery - If you would like this account to be added into your management revenue report, tick Revenue Recovery.
- Click OK-F12 to save
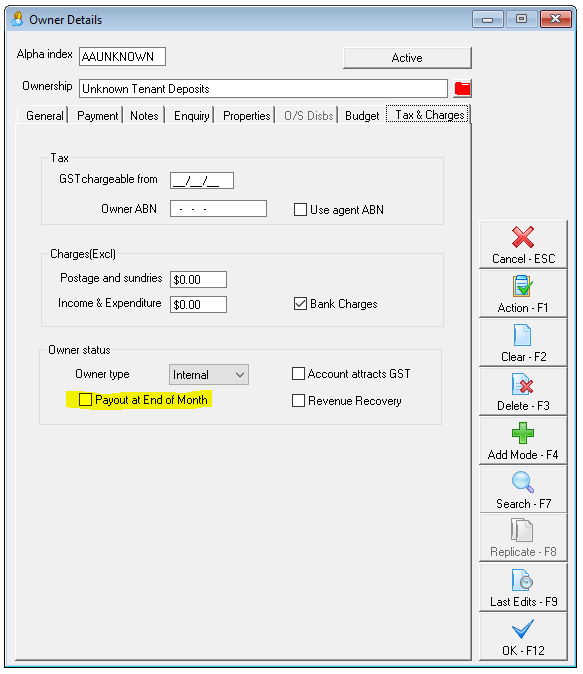
- If this internal owner account is to be paid out at end of month you can now go back into the newly created card and go to the Tax & Charges tab and tick Payout at End of Month
- Click OK-F12 to save
How to Setup an Internal Property Card
- Go to Files > Property or select the property icon

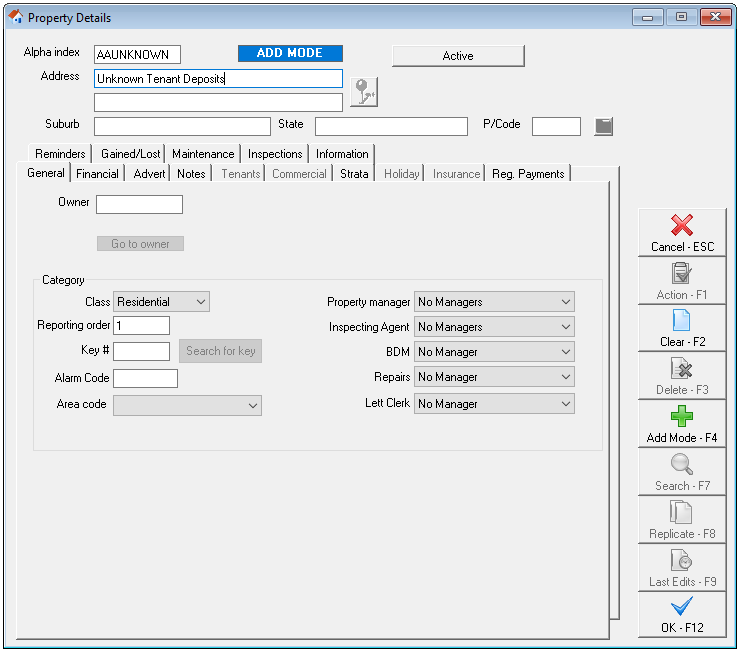
- Click on Add Mode – F4 to enable data entry. NOTE: The alpha index should be the same as the alpha index used for the internal owner
- Enter the name of the account on the first address line example shown above. This should also be the same as the name used on the internal owner that has been set up.
- Complete the details on the General tab as required:-

- Owner - In the Owner field, type in the alpha index of the internal owner and press Enter to attach the owner to the property. NOTE: The internal account name should appear beside the alpha index
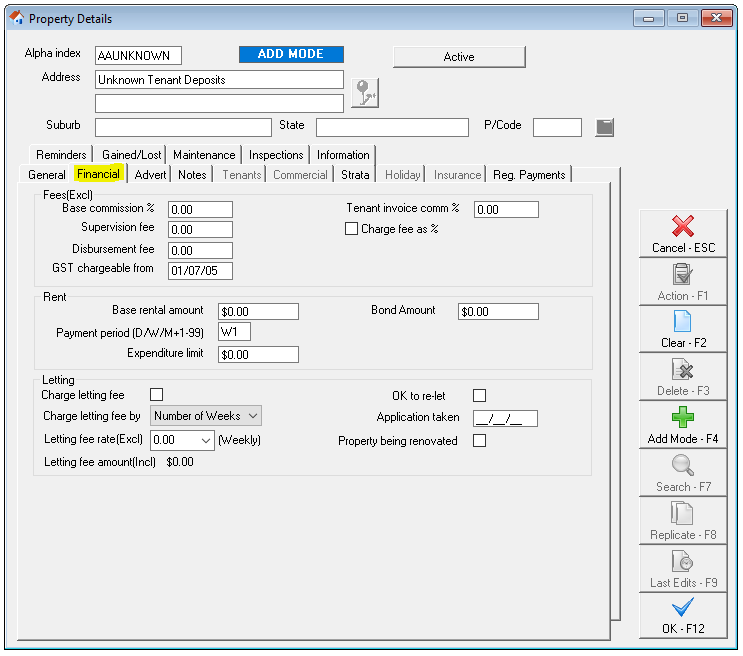
- Enter the details on the Financial tab as required:-
- Fees – leave the Fees field blank
- Rent - Leave the Rent section blank
- Letting - Untick the Charge Letting Fee box & the OK to re-let box.
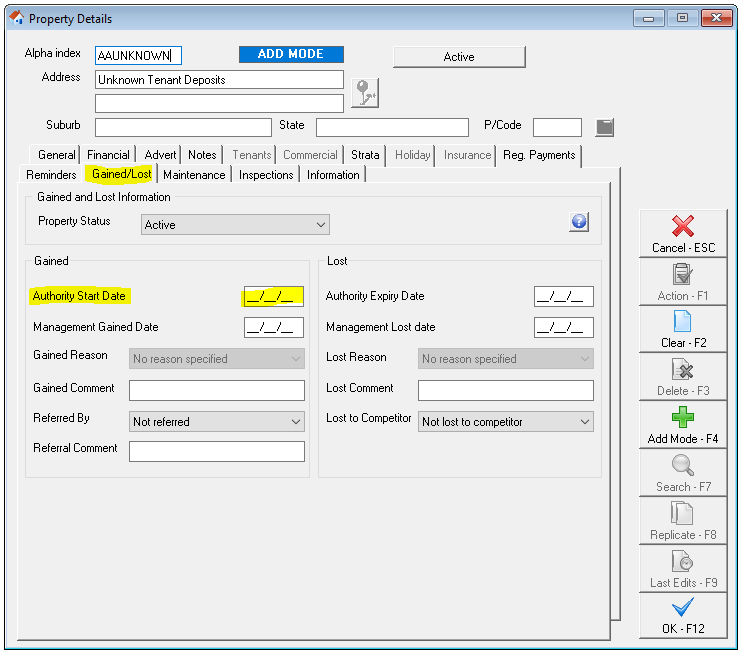
- Select the Gained/Lost tab and remove the Authority Start Date
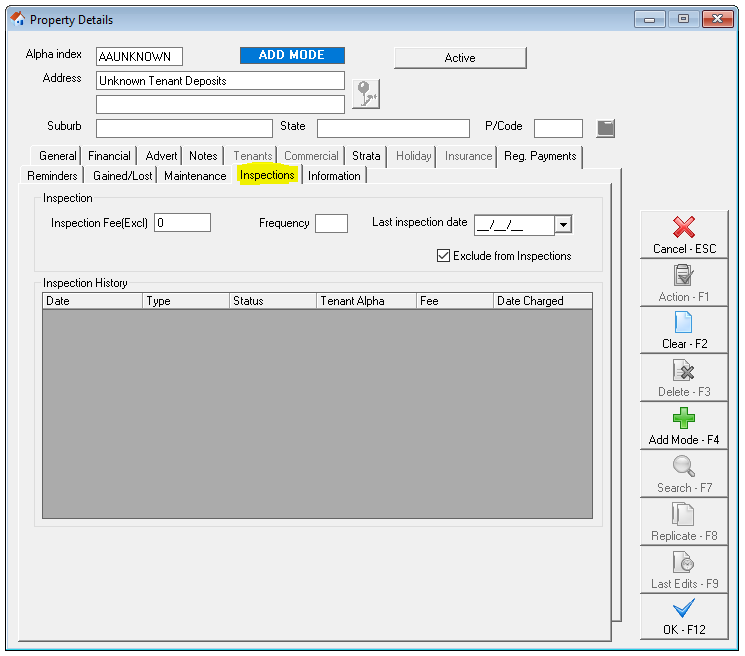
- Select the Inspections tab and make the following changes:-
- Remove the Inspection Fee, Frequency and Last Inspection Date
- Tick Exclude from Inspections
- Click on OK F12 to save
- A message will appear to say that no inspection date has been entered, click OK
Your internal account is now set up and you can now perform the required transactions intended for this account.