
Enhanced Backup Wizard
In REST Professional version 11 the Backup Wizards was updated to allow you to easily complete your daily and monthly backups. The Restore wizard has also been updated.
The backup wizard can be accessed from:
- The menu, Files > Archive > Backup, or
- The toolbar, select the Wizard icon
 > Backup > OK
 > Backup > OK
Daily Backups
Each day a backup of your REST database must be completed, including a system recovery to ensure the integrity of the backup. Daily backups can be completed separately for:
- Current data is data in the current accounting month.
- Historical Data is data from historical accounting months.
- Images are images attached to properties and sales.
- Word Merge Documents are Word merge templates stored in your REST word folder, including standard letters and window cards.
- Managed Documents are files stored in REST Document Management.
To process a backup of your current data:
- Go to Files > Archive > Backup, the welcome screen displays.
- Click Next.
- Select the type of backup you would like process, i.e. Current Data.
- Click Next.
- Select to Backup to removable drive or Quick backup to hard drive.
- Selecting to Backup to a removable drive allows you to back up to a USB Drive or rewritable CD or DVD.
- Selecting to Quick backup to hard drive allows you to back up to your computer or another computer on your network.
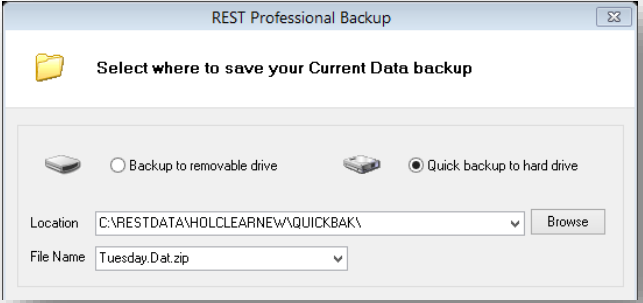
- Confirm the backup Location.
- Confirm the Backup File Name. Current data backups default to the day of the week so you can at minimum have on hand the last week’s backups. You can type a new file name or select from previous backup names.
- Click Save Settings, to save preference for this backup type on this PC.
- Click Finish. the completing backup wizard screen displays.
- Confirm the details of the backup you are about process.
- Click Backup.
- Click OK to process an automatic System Recovery before your backup. The system recovery and backup are processed.
Audit Backup
An Audit Backup is performed after end of month payout and prior to running Files Update which closes your accounting month. At a minimum the Audit backup contains a current data and historical data backup. Audit backups should be stored in a safe place in a secondary location to your office. You may wish to perform two backups, one stored away from the office and one kept in the office.
To complete an audit backup:
- Go to Files > Archive > Backup, the welcome screen displays.

- Click Next.
- Select Audit Backup as the type of data to backup
- Click Next.
- Confirm the types of data you would like to include; at a minimum Current Data and Historical Data should be selected.
- Click Next.
- Confirm the location of the backup. If the location is correct go to step 13.

- Click the Change button to alter the location of your Audit Backup. When the location of the Current Data backup is altered all others inherit that location, but can be altered separately.
- Select Backup to removable drive or Quick backup to hard drive.
- Selecting to Backup to a removable drive allows you to back up to a USB Drive or rewritable CD or DVD.
- Selecting to Quick backup to hard drive allows you to back up to your computer or another one on your network.
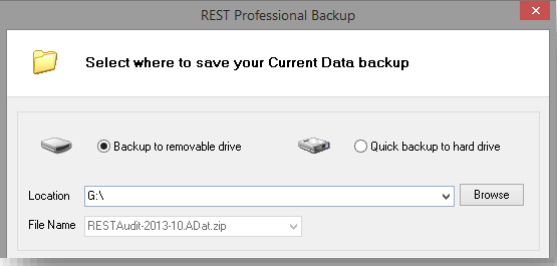
- Confirm the backup Location.
- Click Save Settings, to save preference for this backup type on this PC.
- Click OK.
- Click Finish. The completing backup wizard screen displays.
- Confirm the details of the backup you are about process.

- Click Backup.
- Click OK to process an automatic System Recovery before your backup. The system recovery and backup are processed.