How to Setup Users in Rest Professional
Overview
In Rest Professional you have the ability to add, search, modify or make a user inactive, define level of security, change passwords, modify portfolio options and setup outlook synchronisation etc. You will require the highest security level in Rest Professional to add, modify or make a user inactive.
This document will cover:
How to Add a New User
- Go to Files > User
- Click on Add Mode–F4
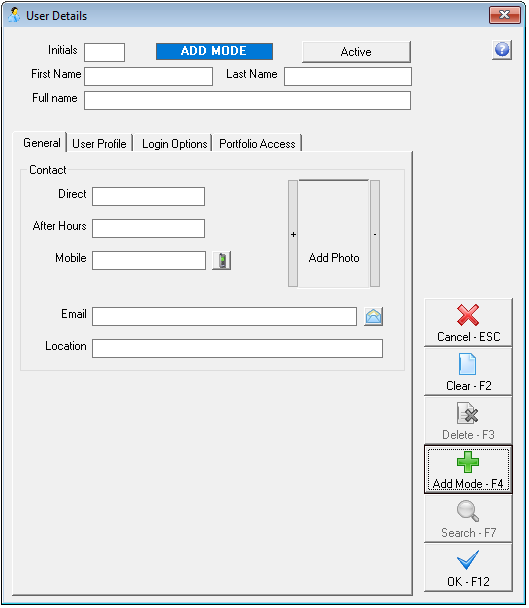
- Complete all details on the General Tab:
- Initials – This field only requires 2 characters, this is how you will identify this user on ledgers and this must be unique to each user.
- First Name – Enter up to 14 characters for the first name of the user
- Last Name – Enter up to 14 characters for the surname of the user
- Full Name - If this user is a property manager, the full name may be used as a merge field in Letter Writing.
- Telephone Numbers – Enter all relevant numbers for the use
- E-mail Address - Enter the Email address for this user
- Location – If you have more than one office, enter the name of the branch or location
- Add Photo – This will show on the owner and tenant portals if the option is selected. The photo must be 150 pixels height x 100 pixels width and be saved as a JPEG. The file must not exceed 200KB.
- Complete all details on the User Profile Tab:
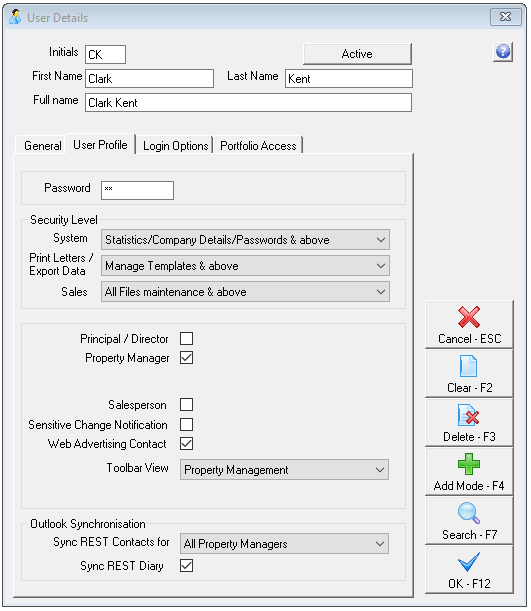
- Password – Enter up to 6 characters for the password. This must be unique
- Security Level – There must be at least one user with full security i.e. Statistics/Company Details/Passwords and above
- System See the below table:

Sales See the below table:

- Property Manager - Tick this check box, if the user is a property manager.
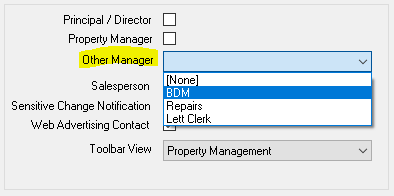
- Other Managers - Rest allows you to have up to 3 additional different types of property managers associated with a property. These Other Managers can be set up in the system options (i.e. Other > Utilities > System Options > Descriptions)
- Salesperson – Tick this check box, if the user is a Salesperson
NOTE: A user can be set up as a Property Manager or Other manager as well as a Salesperson in Rest.
- Sensitive Change Notification - When you select this option, every time an operator changes owner and creditor payment details Rest sends an email, advising of the changes, to the e-mail address of the designated user. (SMTP settings must be active
- Web Advertising Contact - If you are using Web Advertising tick this check box to establish the user as an advertising contact. You may then attach the user to a property so that it is uploaded to the web as the contact for that property.
- Domain Contact ID – If you are setup to upload to Domain, your Domain Contact ID can be entered here and your information and photo form the User info will generate through to Domain.
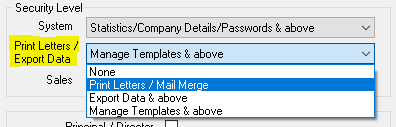
- Print Letters/Export Data – Select the security level in which the user should be able to export data
- Outlook Synchronisation – This will allow users to synchronise their diaries and contacts directly from Rest to Microsoft Outlook. Select from the drop down list:
- Portfolio This option is available for Property Managers only and synchronises only contacts that are assigned to that Property Manager
- All – Will synchronise all rest contacts
- Sync Rest Diary – Tick the box if you would like to sync the Rest diary and outlook calendar. This option is only available for property managers
- Complete all details on the Login Options Tab:

- Portfolio Check: Display Portfolio Check on Login – If this is checked, the portfolio check will display when the user logs in
- Diary, Tenancy Tasks and Property Tasks - Check boxes can be selected depending on what you would like to show on the users portfolio check
- Activity List:
- Display Activity List on Login - If this is checked, a list of the most used functions will display when the user logs on
- Auto Update with Recent Functions – When selected, the order of the list is updated on log in to reflect the function you use most
- Click OK-F12 to save details
6. Complete the Portfolio Access Tab if required:
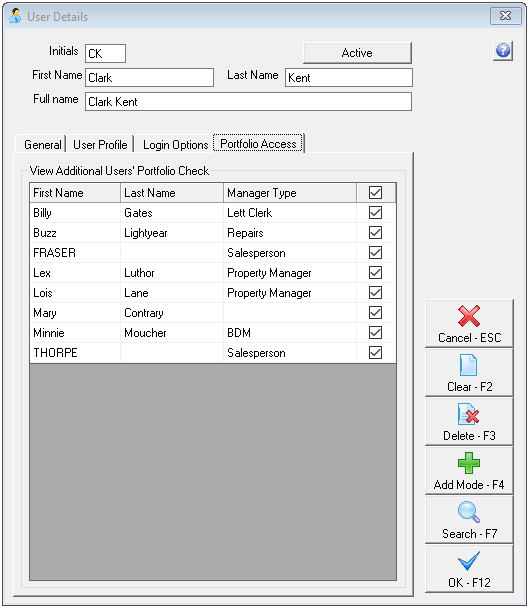
By selecting the check boxes in the Portfolio Tab, it will allow this user to view other users Portfolio Check.
How to Modify or View an Existing User
- Go to Files > User
- Click on Search-F7. A list of users will be displayed
- Select the required user and the user details will be displayed
- Modify the details as required
- Click OK - F12 to save the User
How to Make a User Inactive
- Go to Files > User
- Click on Search-F7. A list of users will be displayed
- Select the required user and the user details will be displayed.
- Click the Active button and the User Activity Status screen will appear
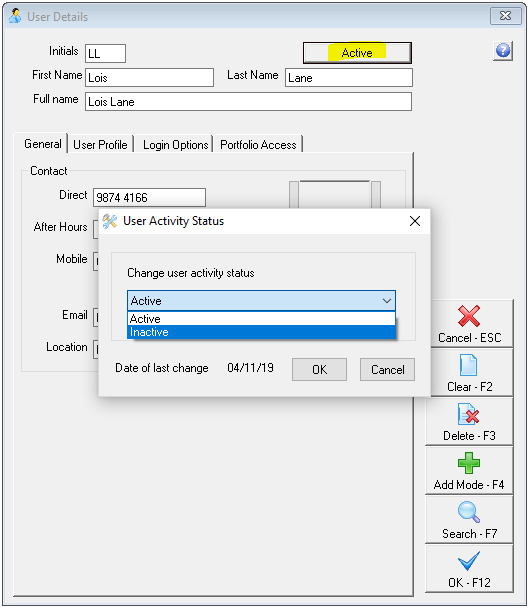
- Select Inactive from the drop down list and click OK
- Click OK-F12 in the User Details screen
- A message will display confirming the change of status. Click Yes

- The Move User Portfolio screen will display if the user is:
- Assigned as a Property Manager against Properties
- A Job Manager against Property Maintenance Jobs
- Assigned to incomplete Diary Items
- A Web Advertising Contact against Properties or Sales
- A Listing or Selling Salesperson against Active Sales

- Select User from each drop down list and click OK.
- A confirmation box will appear to confirm the changes you are making

- Click OK to confirm and make the user inactive
NOTE: Changes made to the security level, active status or portfolio against a user will appear on the File Changes Report.