
How to Uninstall and Reinstall the REST Professional Program
Overview
The REST program may need to be uninstalled and reinstalled on a computer due to run time errors or other issues.
If performing these steps on a fileSMART server, please ensure you do not rename the c:\REST folder (How to Uninstall the Program > Step 5)
This document will cover the following:
- How to Check the File Location
- How to Uninstall the Program
- How to Reinstall the Program
- How to Connect to Database
How to Check the File Location
You will need to know where the REST data files (and the upgrade file in particular) sit on the server prior to uninstalling.
To ascertain the file location, in REST go to Help > About REST > REST Info > File Location. On the right hand side of this screen, it should show the path for the upgrade folder.

How to Uninstall the Program
- Log out of the REST program on the computer you are having issues with
- Go to START Menu > Control Panel and click on Programs and Features (this may vary depending on the version of windows. Most commonly it will be ‘programs and features’ or ‘add or remove programs’)

- Find the REST Professional program, right click on it and select Uninstall

- Say yes to uninstall the program and follow the prompts until you click Finish
- Rename the existing rest folder located within the C drive. i.e. go to START Menu > Computer and locate your C Drive (Windows C:). Go to the REST folder, right click and rename the existing folder to REST.old. WARNING: If the REST Database is located in the c:\Rest folder, or if you are on the fileSMART server, please skip this step and advise Rockend Support
How to Reinstall the Program
- Browse to the location of the upgrade folder by going to your START Menu > Computer and click on the drive that REST sits on (this may be your R drive or designated drive).
- Locate the REST Folder > Upgrade and click on the icon called Setup.exe (this should look like the rest icon with setup or setup.exe beside it).

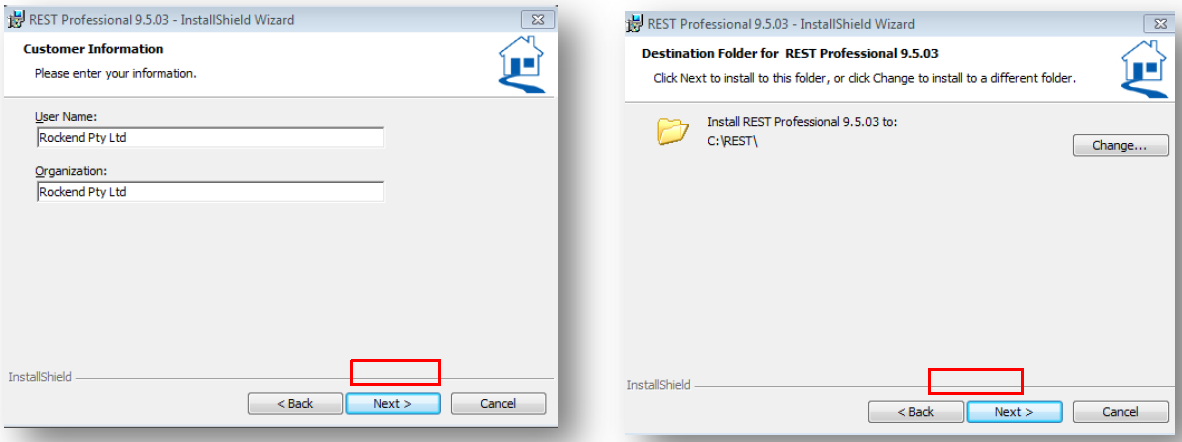
- This will generate the Installshield Wizard, Click Next to the Welcome screen.

- Leave the below fields to the default information and click Next at each prompt
- Select Anyone who uses this computer (all users)

- Click Install and the release notes for that version can be printed out
- Ensure the c:\Rest folder has Full Permissions for Everyone
How to Connect to Database
- Log into REST as normal
- The database connection wizard will appear. Click Next
- Click on Connect to database and click Next

- Click on Browse and browse to the server location
- Locate REST > Data
- Click on rmconfig and click Open
- Click Next and then Finish
- Log into REST as normal